Features
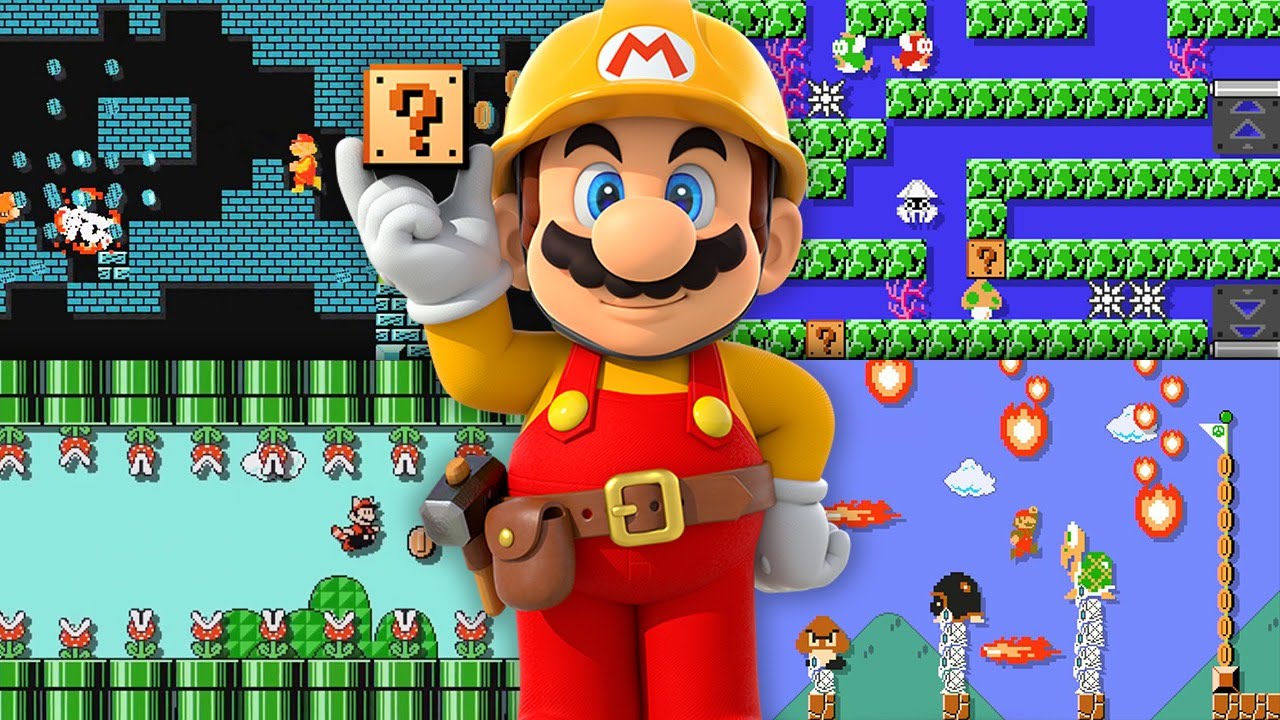
Gaming Tips for amateur ‘Super Mario Maker’ level designers
Gaming is a wonderful experience. It brings together people that might normally never even hope to meet and drives them toward a similar goal. Through the jumps, boss runs and spectacles we’ve grown as game players as well as people that aspire to design. The better games get; the more people approach the idea of being a designer.
However, along with the best parts of our favorite games that are a slew of memories with awful parts of games.
Thinking “this pit is way too big to jump across” or “they shouldn’t have put this in the game” is in itself a sign of people being more aware of game design. With Super Mario Maker and free game engines, the designer chair has become accessible for the common consumer and game player. And with that, people are learning the hard fact that creating a game level is hard stuff.
There’s plenty of books out there about gaming as art, and psychological studies on gaming and even art creation and code. Some of the resources can either be a fun read or a daunting nightmare of terminology but even with Mario Maker, the nuances of the hard to grasp concepts can be made approachable.
For the gamer just looking to start there’s a basic “point A to Z” way to really get started. For the purpose of just understanding the basics let’s use Super Mario Maker as the base example. This simple guide can be used to design other game types and other engines so having Mario Maker isn’t a requirement to understand it.
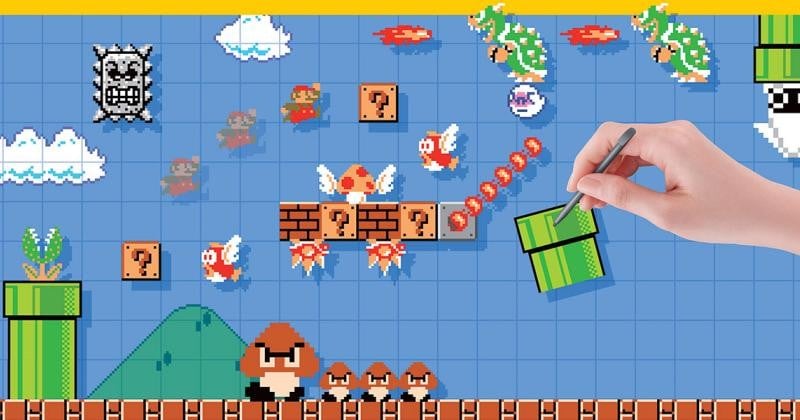
Figure out what you want to make first
As with writing, there are two really common kinds of level design. There’s the “Architect and the gardener” schools of thought. The gardener moves as the level is being made adding in major ideas and/or throwing out ideas mid-construction. The Architect lays down his ideas at the beginning and shifts much more slowly based on materials or limitations. Figuring out what you want could be spaced out depending on how you work and how you think. But the easiest way for a new designer to work is to go into making something with at least a basic idea. “I want to make the best underwater level” is a much clearer task than “I just want to do whatever”.
Layout the Ideas
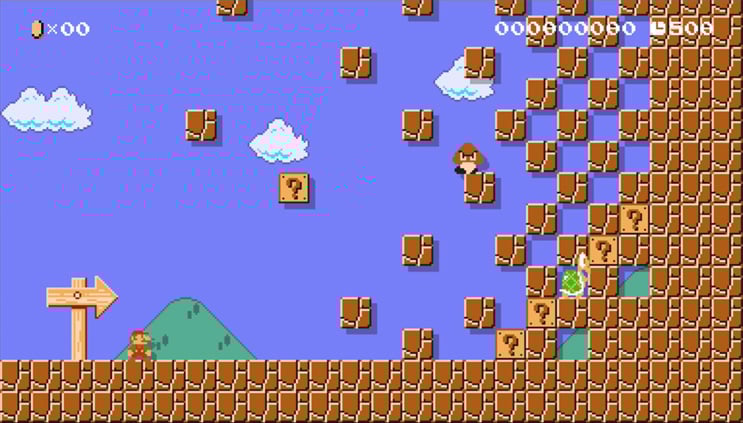
Once you’re ready to start laying down the basic building blocks put in the ideas you can fit in (reasonably). Big or small, just put in what you think might be a good idea that would bring you closer to your goal. As messy as it might be at first it’s not generally something to worry about at this point. This part is less about laser precision and more about just getting past “designer’s cold feet”.
Give your level a few personal runs
Check to see how your level generally works. Stuff like jarring bugs and really bad design choice should be eliminated. Though sniffing out smaller problems is a healthy thing to do, this step is reserved for sweeping through and getting rid of the big problems. Try not to feel overly pressured to fix everything in every part at once.

Segment you levels into meaningful chunks
This step is important because when you split a level into pieces you can find and fix a smaller problem to a higher degree. Whether it’s two, three or ten pieces is less important. What’s more important is splitting it so that you can understand everything. Let’s use an example; There are ten goombas that cycle through a part of the stage separate from another set of obstacles. Separate that chunk and see how it works isolated. This technique both refines sore spots while allowing you to really focus on the theme that you want to convey in the level.

Make good on your goals
If your goal is to make a specific type of level, focus on fleshing it out. Since the level is in chunks it’ll be easier to shift specific bits in and out of the design. More so than sheer volume, this step is dedicated to clarity and really getting the idea strengthened. Before putting in things or moving things around think, “is this piece really necessary?”.

Get feedback from others
Even if your level is not finished have people play through and provide you with feedback. Asking for feedback before the level is done will really speed up the process in understanding what works and what doesn’t work. This could possibly be the hardest part in all honesty since not everyone reacts well to criticism. Having the ability to take criticism is a chief sill for all designers. But having even one person point out a flaw you may have missed could mean a world of difference.

Put it all back together
Now that you’ve implemented the critiques and feedback the chunks should look more like a completed whole. Now what’s left is to do some “housecleaning” around the level to bring it all together. Check to see if anything strange pops up during the process (a block that doesn’t belong, secret “tester” paths for checking things, etc..). This is the home stretch; this is the 95% mark but don’t ignore it or you might run into easy to catch mistakes being left in.

Release it
This is what the game industry would call “gold version”. You’ve completed your level and now all there is to do is to release it and wait for the fans. Be sure to periodically check to see how people are dying because it might mean something is up. Other than that, it’s time to rest easy and start thinking about what other levels you want to make, Mario Maker or otherwise.


5 Classic Basketball Games to Get You in the Mood for the NBA Finals

Is Marvel Rivals Boost Safe and How Bannable Is It?

One of Anime’s Most Comforting Fantasy Series Might Finally Return

4 Best Sites to Buy YouTube Views for Gaming Channels in 2026 (Grow Faster, Rank Higher, Go Viral)

The Food Diary of Miss Maid, The Ultimate Comfort Anime for Food Lovers 🍙✨

Why Game Design Is a Great Extracurricular Activity for Creative Students

Randomness, Strategy, and Spectacle in Modern Multiplayer Games

The Most Realistic Football Management Games Ever Made

This Cozy Isekai Might Become Your Next Comfort Watch… And You Won’t Expect Why

Gaming in the Cold: Why Canada Remains the Unrivaled Global Hub for Virtual Hockey

Capcom Shadow Drops “Leon Must Die Forever” DLC for Resident Evil Requiem

Kiki’s Delivery Service Finally Solves the Mystery Behind Why Jiji Suddenly Stops Talking
The Food Diary of Miss Maid, The Ultimate Comfort Anime for Food Lovers 🍙✨

Solo Leveling Finally Has a Rival? This 2027 Anime Could Take Over Everything

How Gaming Is Affecting Work and Productivity
Randomness, Strategy, and Spectacle in Modern Multiplayer Games
-
 Features4 weeks ago
This Cozy Isekai Might Become Your Next Comfort Watch… And You Won’t Expect Why
-
 Features4 weeks ago
Gaming in the Cold: Why Canada Remains the Unrivaled Global Hub for Virtual Hockey
-
 Gaming News4 weeks ago
Capcom Shadow Drops “Leon Must Die Forever” DLC for Resident Evil Requiem
-
 Features3 weeks ago
Kiki’s Delivery Service Finally Solves the Mystery Behind Why Jiji Suddenly Stops Talking
-
 Features1 week ago
The Food Diary of Miss Maid, The Ultimate Comfort Anime for Food Lovers 🍙✨
-
 Features2 weeks ago
Solo Leveling Finally Has a Rival? This 2027 Anime Could Take Over Everything
-
 Features3 weeks ago
How Gaming Is Affecting Work and Productivity
-
 Features2 weeks ago
Randomness, Strategy, and Spectacle in Modern Multiplayer Games
-

 Features4 weeks ago
Beyond the screen: why rewards and bonuses shape modern gaming
-

 Features2 weeks ago
Best Football Video Games to Play Before the World Cup 2026
-

 Features4 weeks ago
The Art of Video Game Character Design
-

 Features2 weeks ago
How Video Games Turned Real-Money Mechanics Into Gameplay