Features
‘Animal Crossing: New Horizons’ – 5 Essential Tips To Know on Your First Day
Here are five essential tips you absolutely should know while you are still on your first few opening hours of Animal Crossing: New Horizons.

Welcome to your new paradise island! Animal Crossing: New Horizons is finally available on the Nintendo Switch and with it comes the start of a brand new life cut away from the typical animal village or a city full of friendly folks we are used to. While you are waiting on opening that physical copy or digital download to finish up, you probably have been doing some light research on the game. Every day is a new day in Nintendo’s hit lifestyle game series, but your first day is critical to being able to quickly kickstart your new island’s hopefully booming foundation. Here are five essential tips you absolutely should know while you are still on your first few opening hours of the game.
1. Place Villager Tents to Your Desire
Let’s start off with one thing you should know before you truly get into your first real day. You will not be able to move any structure spontaneously until you upgrade your Resident Services structure later into the month, but that does not mean you can start figuring out the basic aesthetic foundation of your future island packed with villagers and stores. After you figure out where you want your home to reside go ahead and give your fellow two neighbors a helping hand. Just simply walk up to them and choose the dialogue option that will allow you to place their tents to your personal desire.

2. Use Your Nook Miles To Pay Your First Debt
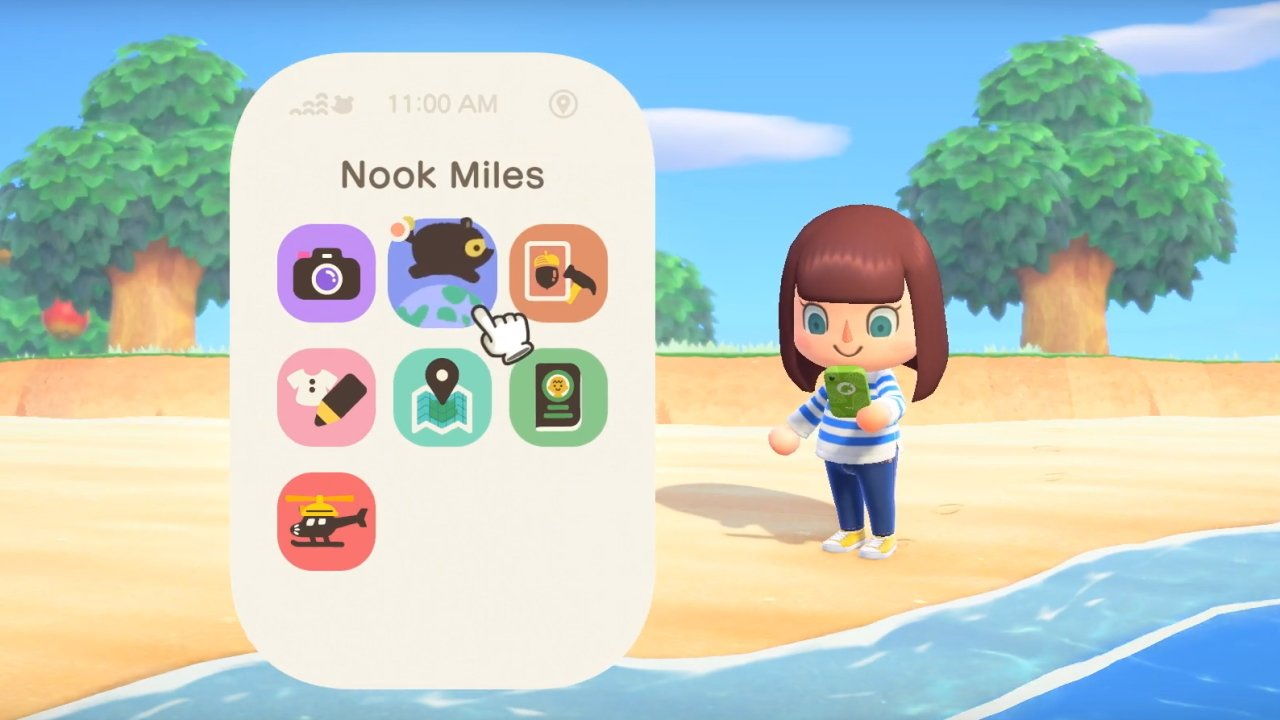
Seriously do not use your bells for this feature at Nook’s ABD machine- save them for other things you can purchase that will be worth your while. For your first house upgrade from the standard tent do not think about raising almost fifty thousand bells over the course of the next few days because it will certainly become an unnecessary hassle- the game even wants you to use your miles. Nook Miles can easily be accumulated from doing all sorts of simple tasks like fishing, visiting friends, browsing your phone apps, selling shells you found on the beach, logging into the game daily, and weed collecting- stuff that you are inevitably going to be doing every gameplay session. Save your bells so you can purchase items and tools that you will want from the shops.
3. Prioritize Getting Your DIY Recipes
DIY Recipes are the key to gaining a more accessible island lifestyle. Nook miles are a key way of gaining these lessons, but you can also buy a variety of beginner lessons from Timmy at the Resident Services tent. Whenever you have enough bells saved up (they are pretty cheap so that should not take to long) buy whatever you can get your hands on. By the way, villagers you talk to can sometimes hand you recipes. Be sure to talk to your villagers whenever they have a glowing idea as they are likely running up to you to hand you something useful. They are not pestering you to do their personal chores like the last few entries’ opening hours!

4. Donate 5 Insects or Fish
In order to get the museum structure up and running as fast as possible, after you craft a flimsy fishing pole or flimsy bug hunting net get on out there and catch either exactly five different insects or fish- as long as they are all different species this will work. It does not matter what you catch for this whether it is all bugs, all fish, or a melting pot of both. Bring those creatures back to Tom Nook inside the Resident Services tent and donate them to him. He will mention his old researcher friend who studies wildlife of the past and present. Afterward, Nook will reward you with the Critterpedia NookPhone app- the encyclopedia for all wildlife in the game. Nook will then proceed to give you instructions to place a reserve spot tent for his buddy Blathers. Tomorrow the old owl will arrive and you will be able to receive your vaulting pole to explore the large majority of your island. It is important to note that after you place the reserve spot you will not be able to donate any insects or fish for a day as Blathers will be the one collecting them from you in the future.
5. Collect Items, Craft, And Shake Every Single Tree
No really just do it. Everyone around the island is already reinforcing this policy and you should learn to follow. You should especially shake every single tree you can possibly reach on your first day. Trees contain valuable items such as branches, bells, and even placeable items that can be sold for a nice chunk of bells- assuming you do not want what you find that is. Every now and then you can, however, run into a wasp so just be sure to have your net ready. As I said before, save the branches you have collected so that you will have an accessible resource stash for tools as the flimsy items on your first-day break extremely fast. Weeds can also be used for various structures and resources so save a stash too while you already have them in your pouch! The more work you do, the more Nook Miles you will likely receive from simple actions!

-

 Features4 weeks ago
Don’t Watch These 5 Fantasy Anime… Unless You Want to Be Obsessed
-

 Culture3 weeks ago
Multiplayer Online Gaming Communities Connect Players Across International Borders
-

 Features3 weeks ago
“Even if it’s used a little, it’s fine”: Demon Slayer Star Shrugs Off AI Threat
-

 Features2 weeks ago
Best Cross-Platform Games for PC, PS5, Xbox, and Switch
-

 Game Reviews4 weeks ago
How Overcooked! 2 Made Ruining Friendships Fun
-

 Features2 weeks ago
The End Is Near! Demon Slayer’s Final Arc Trailer Hints at a Battle of Legends
-

 Features3 weeks ago
8 Video Games That Gradually Get Harder
-

 Game Reviews4 weeks ago
How Persona 5 Royal Critiques the Cult of Success
-

 Features2 weeks ago
Don’t Miss This: Tokyo Revengers’ ‘Three Titans’ Arc Is What Fans Have Waited For!
-

 Uncategorized3 weeks ago
Sleep Meditation Music: The Key to Unwinding
-

 Guides2 weeks ago
How to buy games on Steam without a credit card
-

 Game Reviews2 weeks ago
Final Fantasy VII Rebirth Review: A Worthy Successor?


